About SKY+

Sky+ Hard Disk Recorder Take apart. Click Picture to
see in more detail.
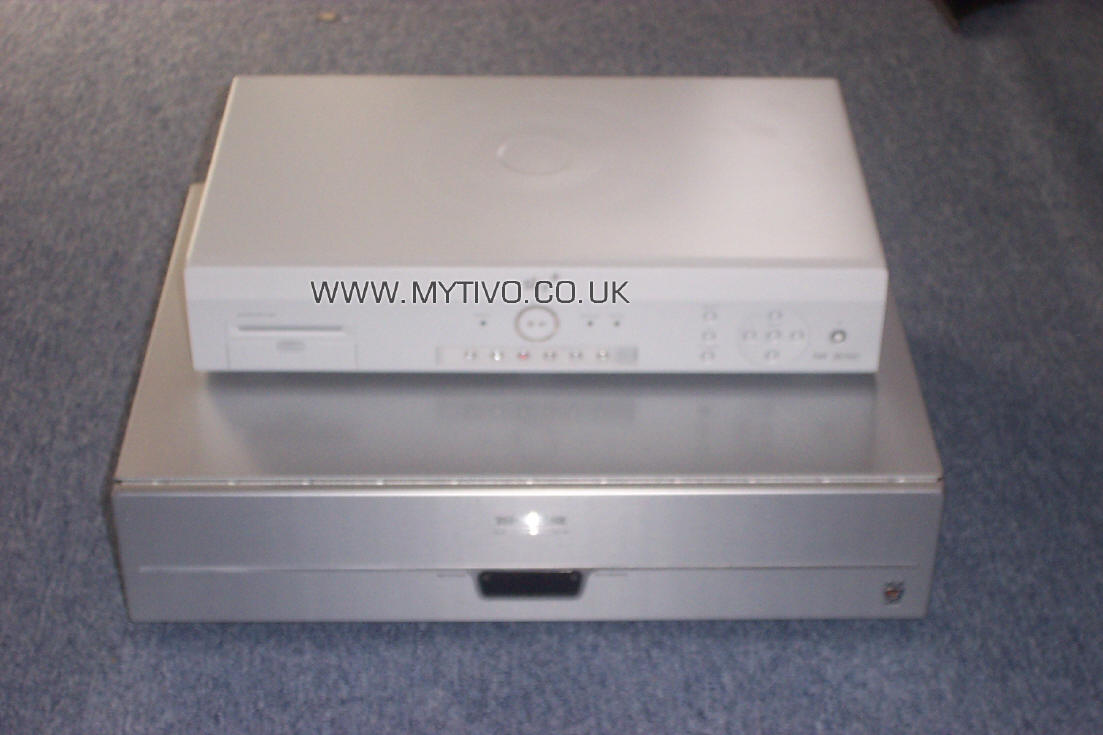
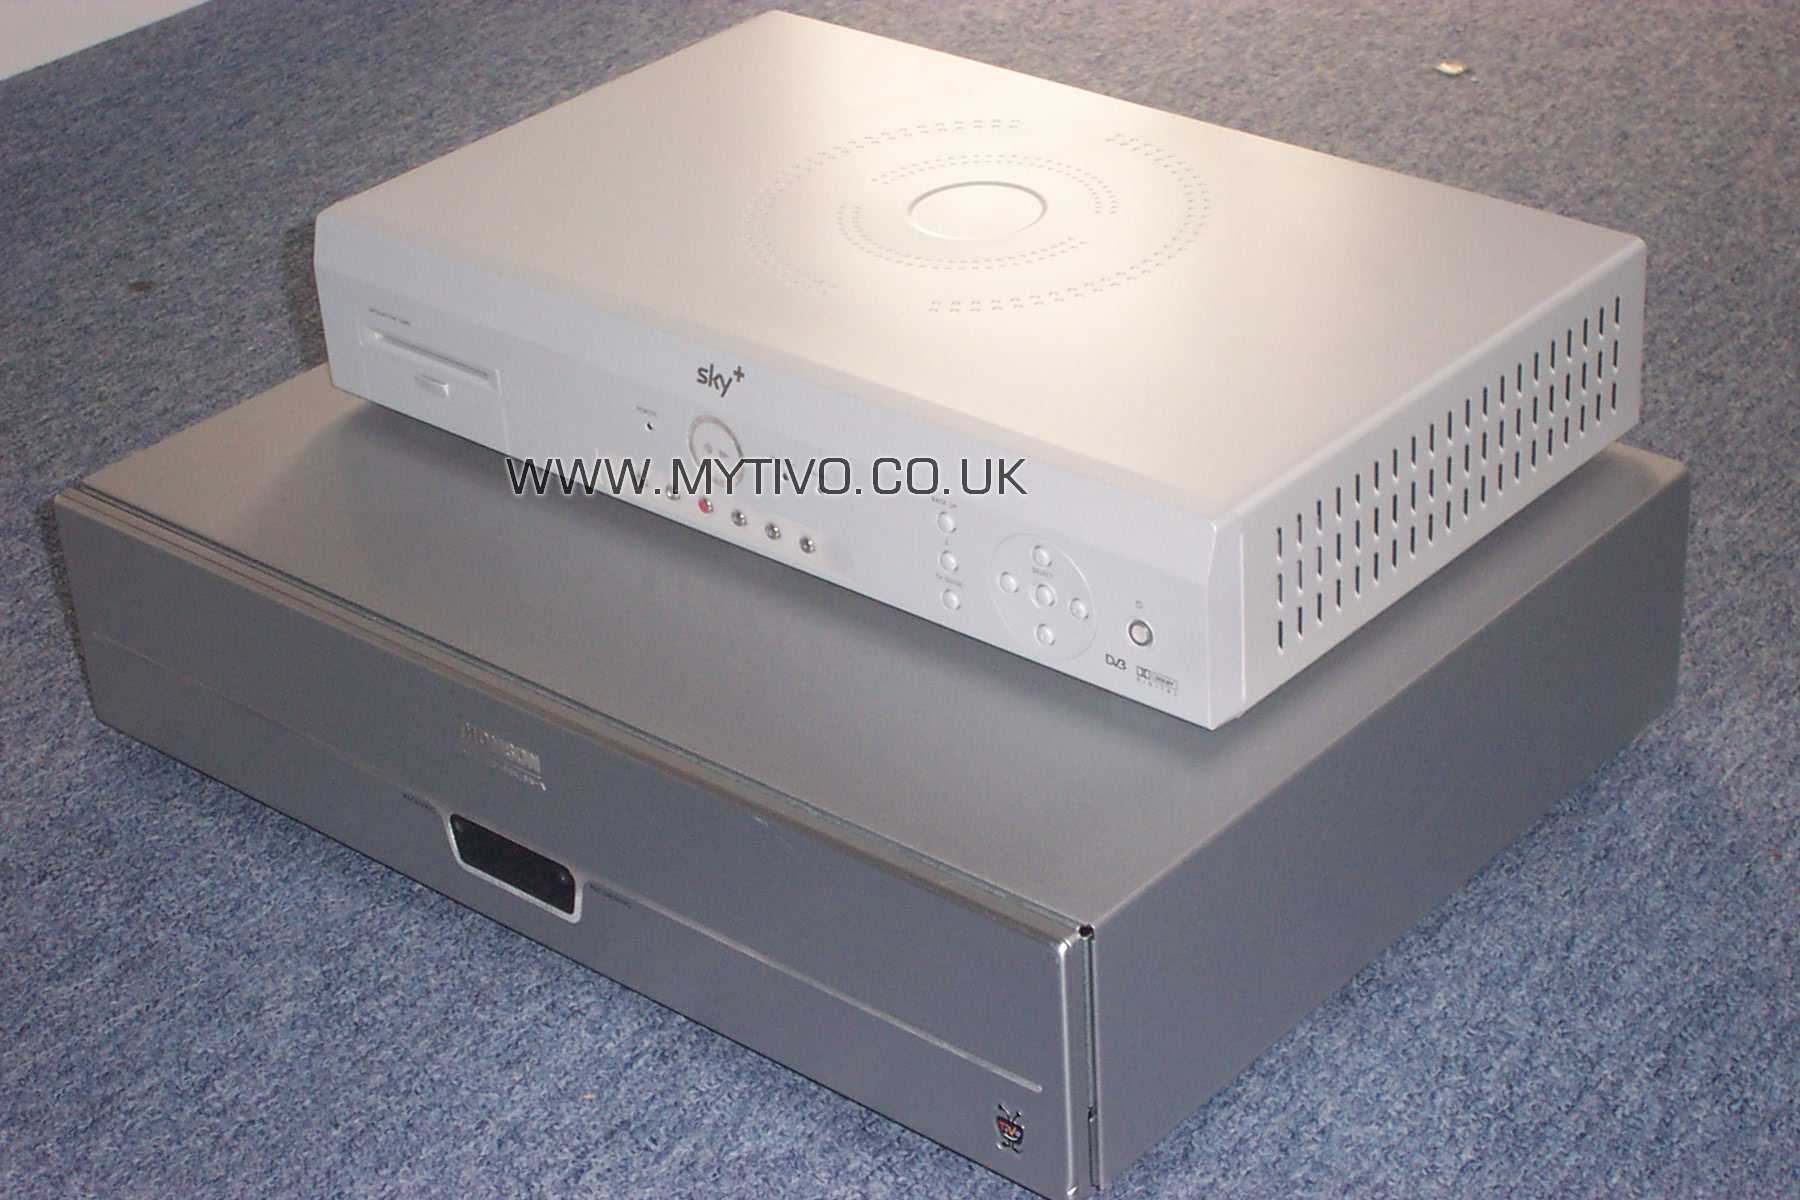
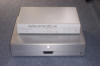
1. Size Comparison

As we can see the Pace Sky+ V2 is alot smaller than
our TiVo.
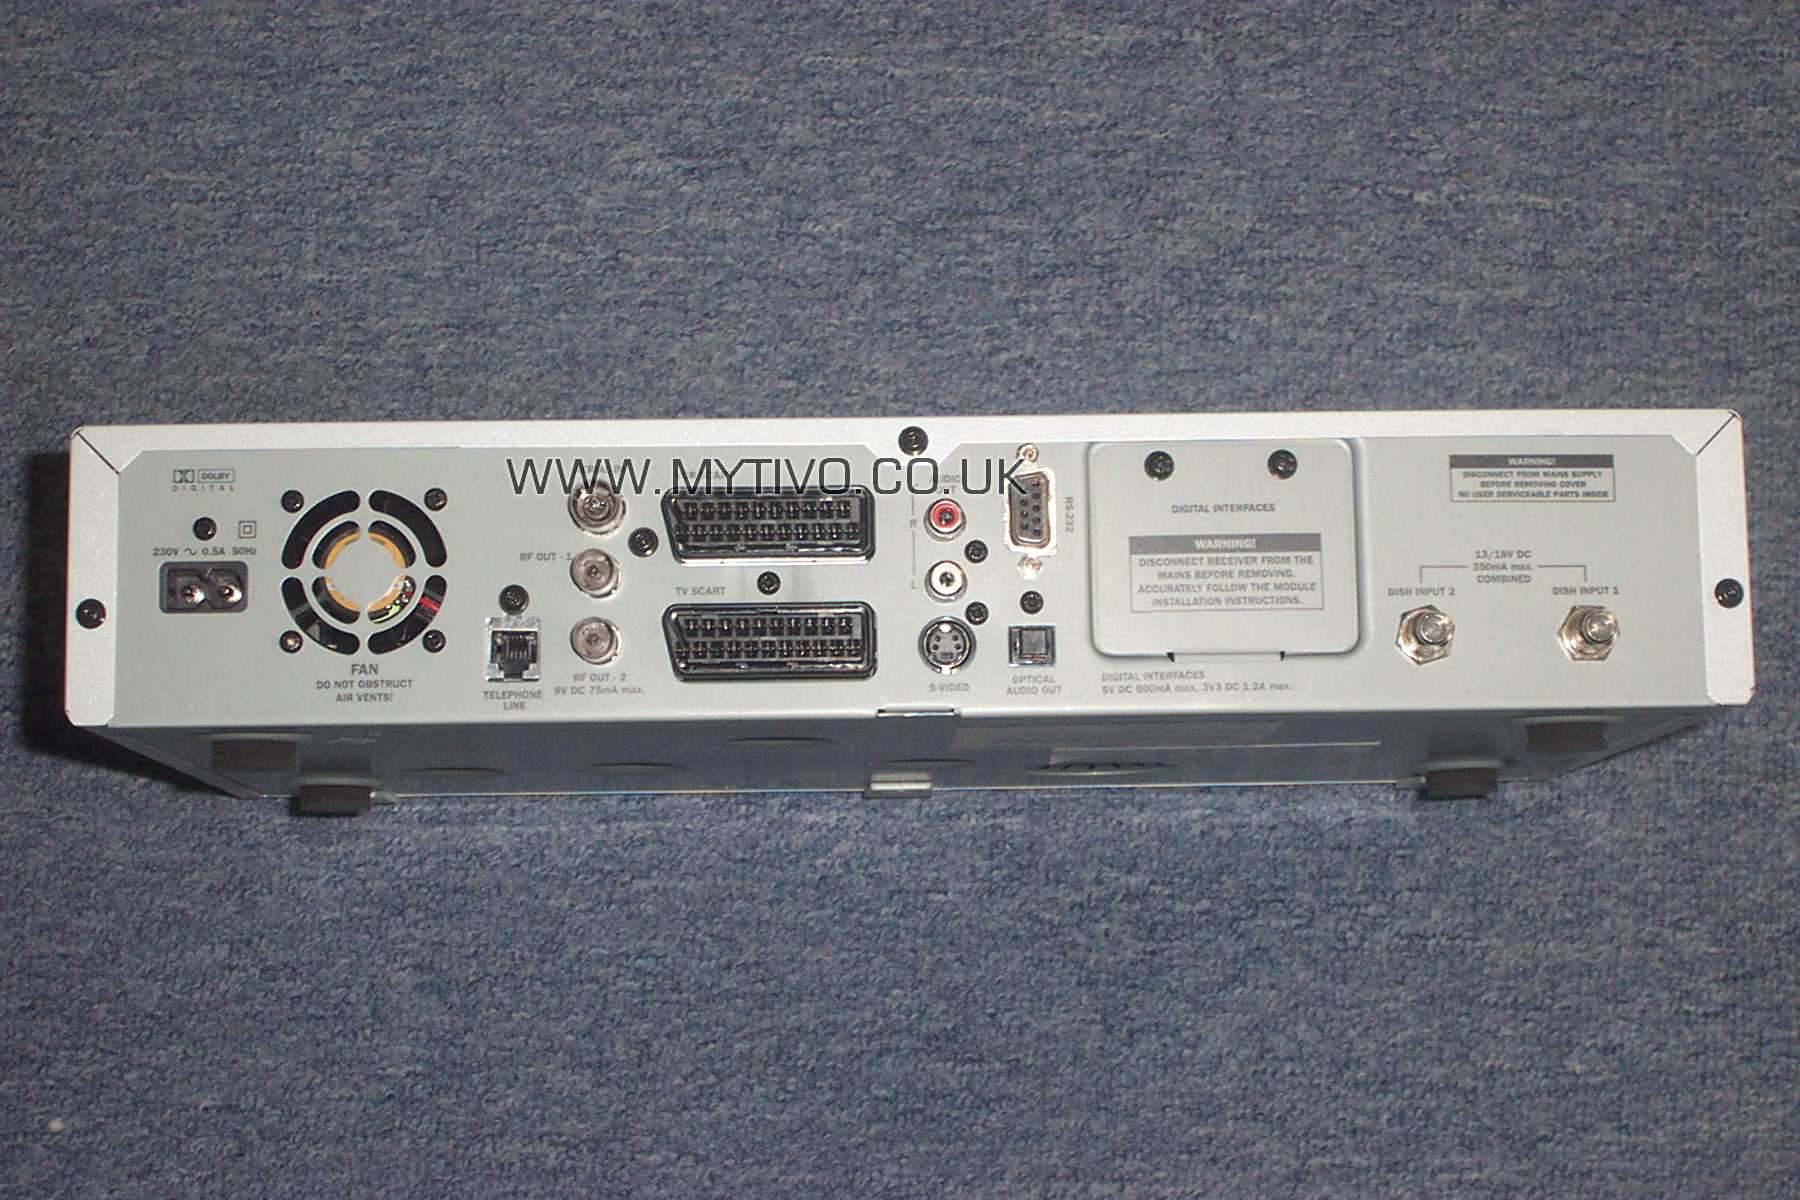
2. Rear Connections
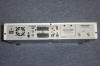
Notice the Twin Dish Feeds, S-Video out, Optical Digital Audio Output
and the 3 Security Torx Screws.
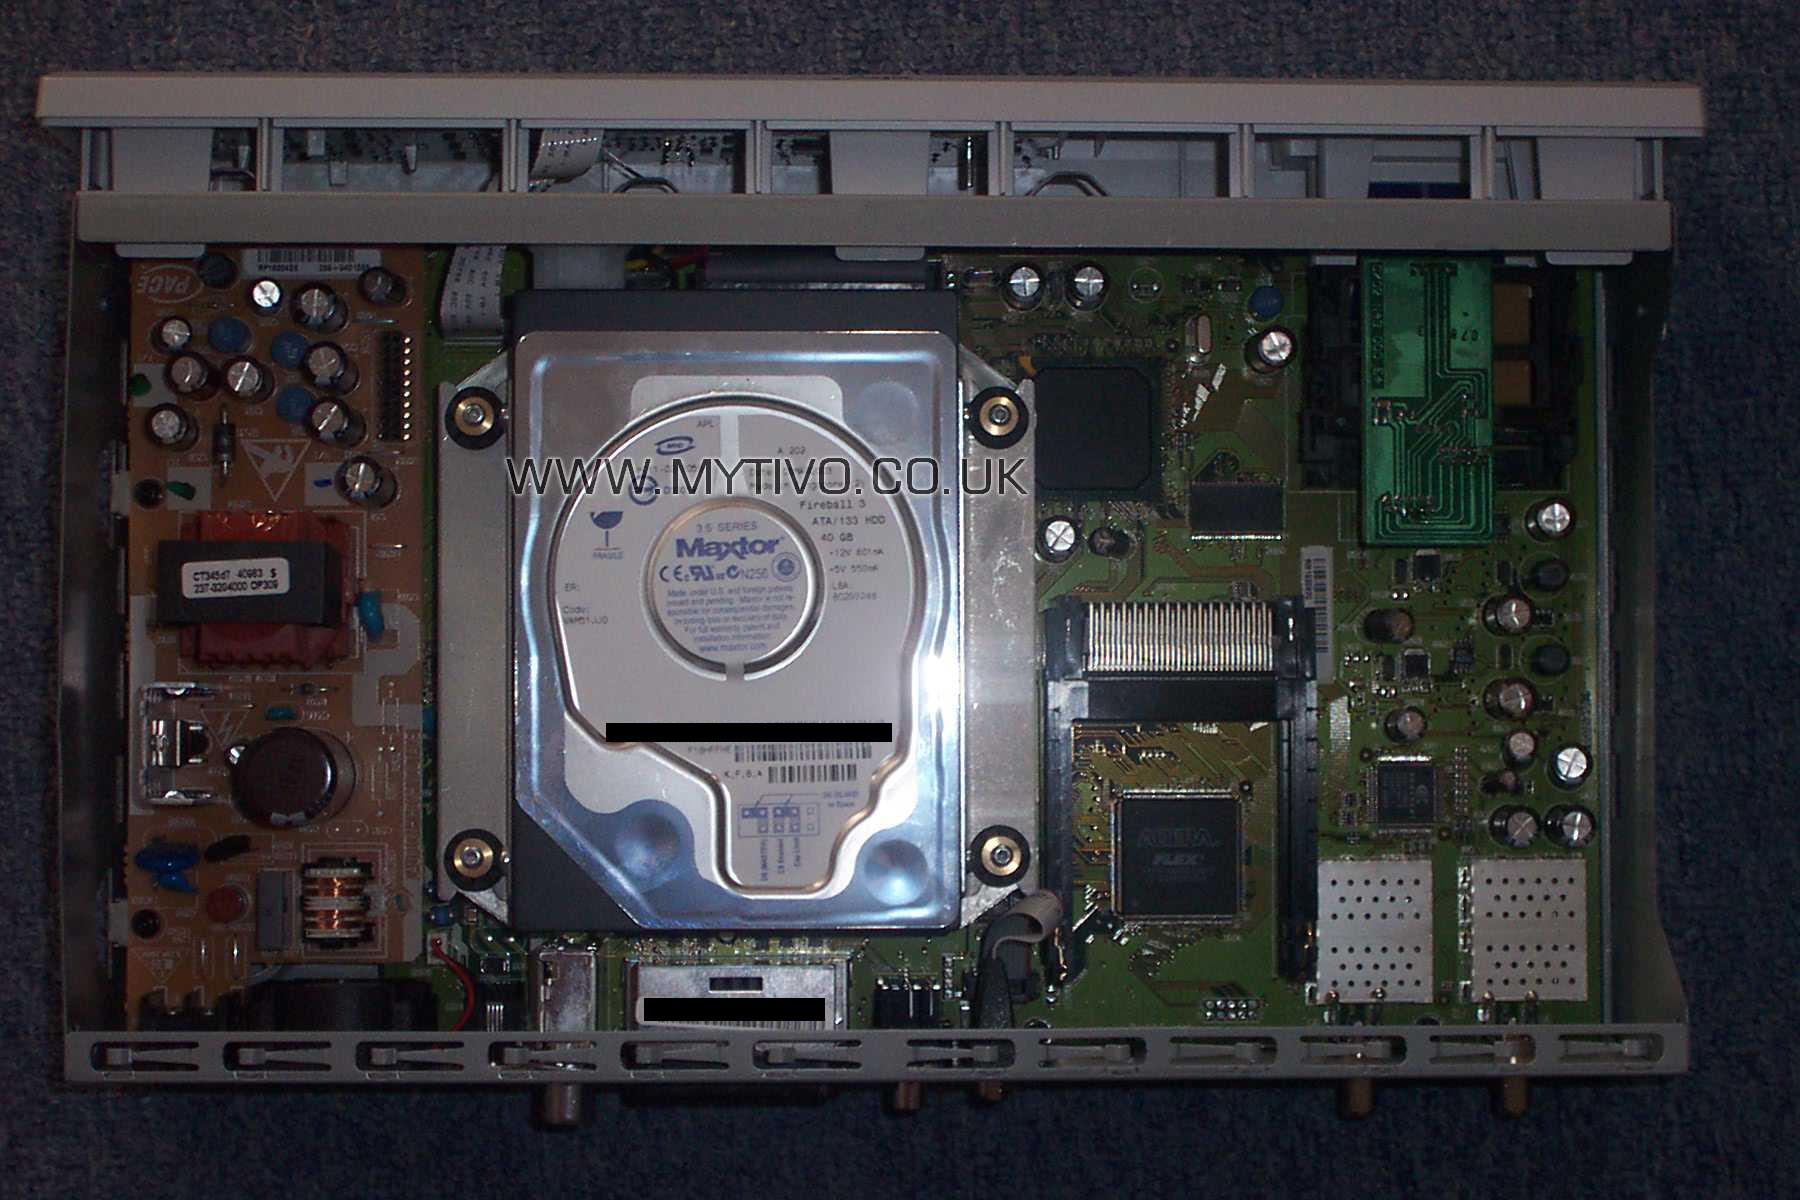
3. The Lid OFF
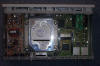
You will require a SECURITY Torx 10 Bit for the three
rear screws. The case is easier to take of than the TiVo Lid, does not
require the rubber gloves :o). Notice the position of the HDD is different to the V1
Box
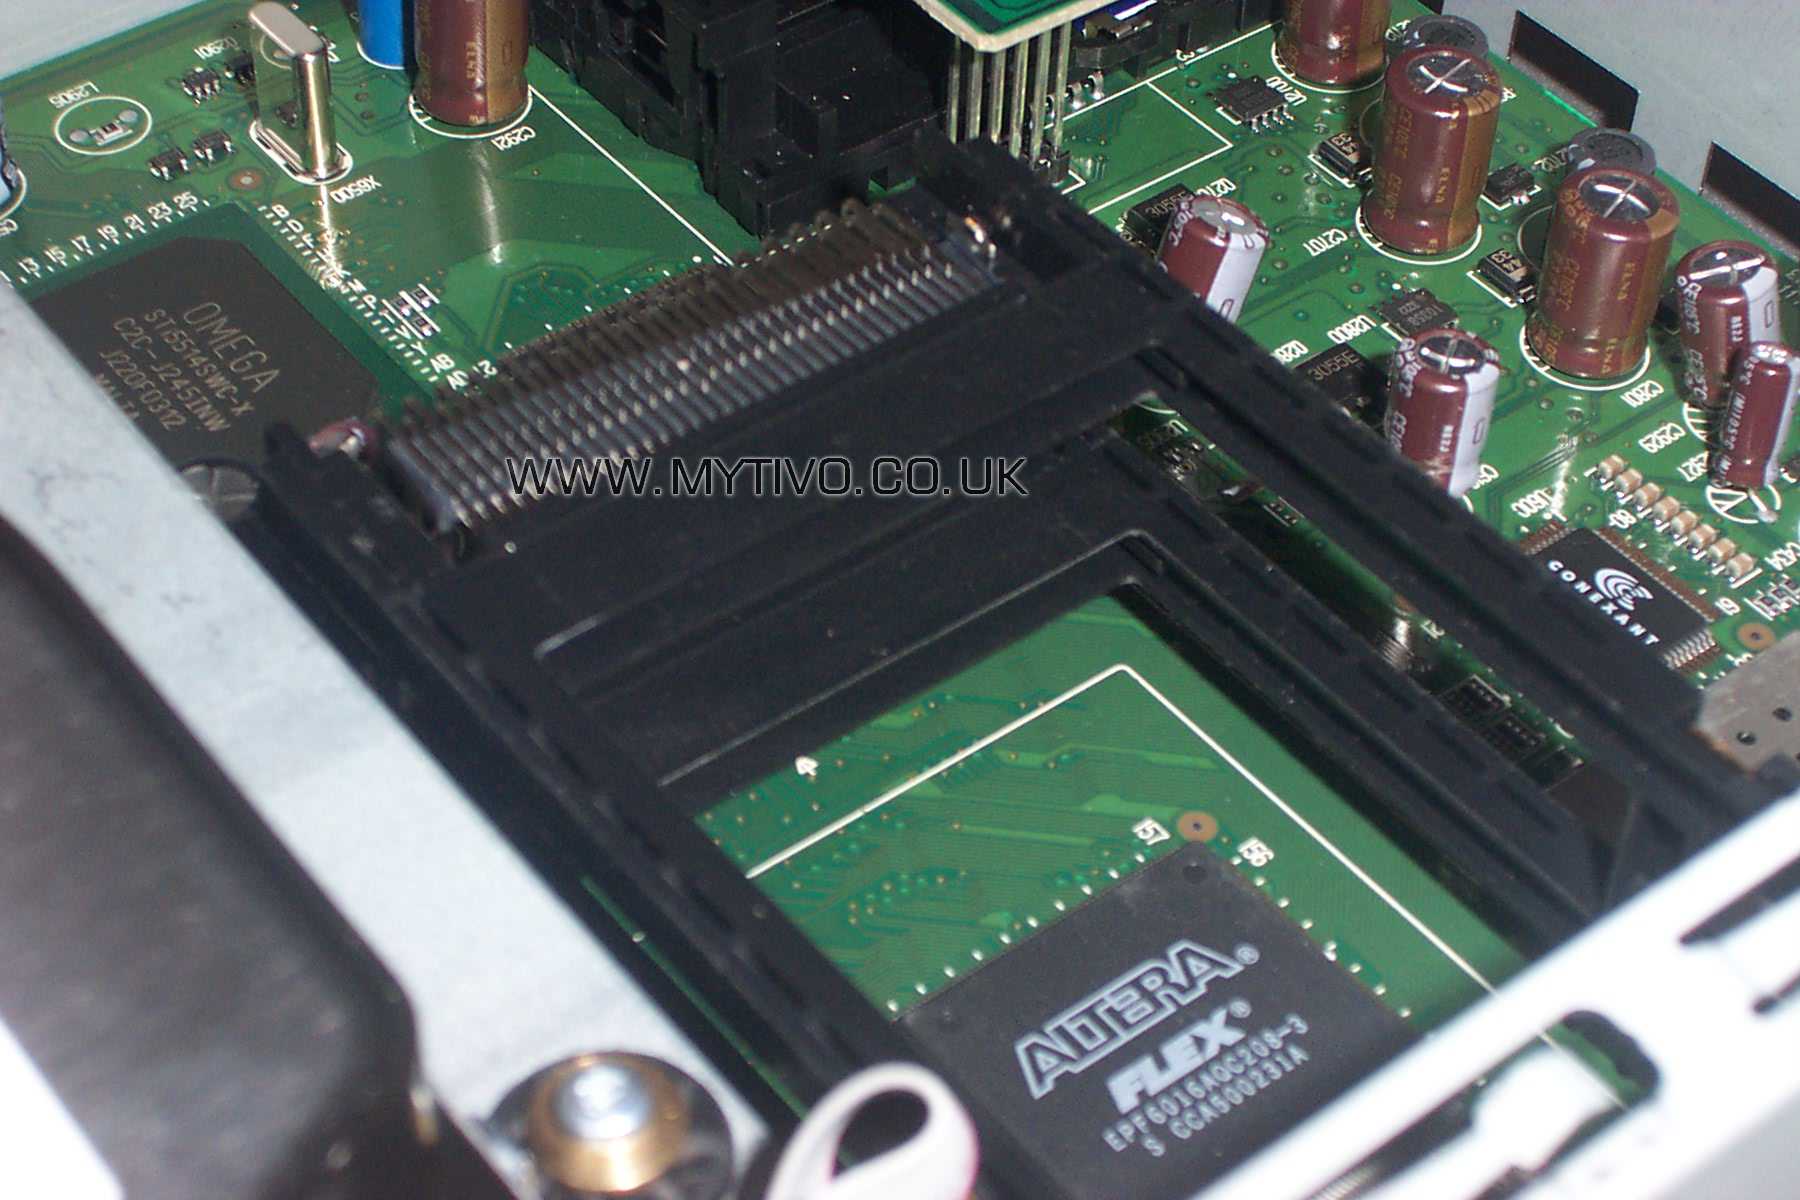
4. Digital Interfaces
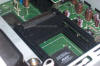
There are two Digital Interface sockets on a Plus Box,
due to the twin tuners.
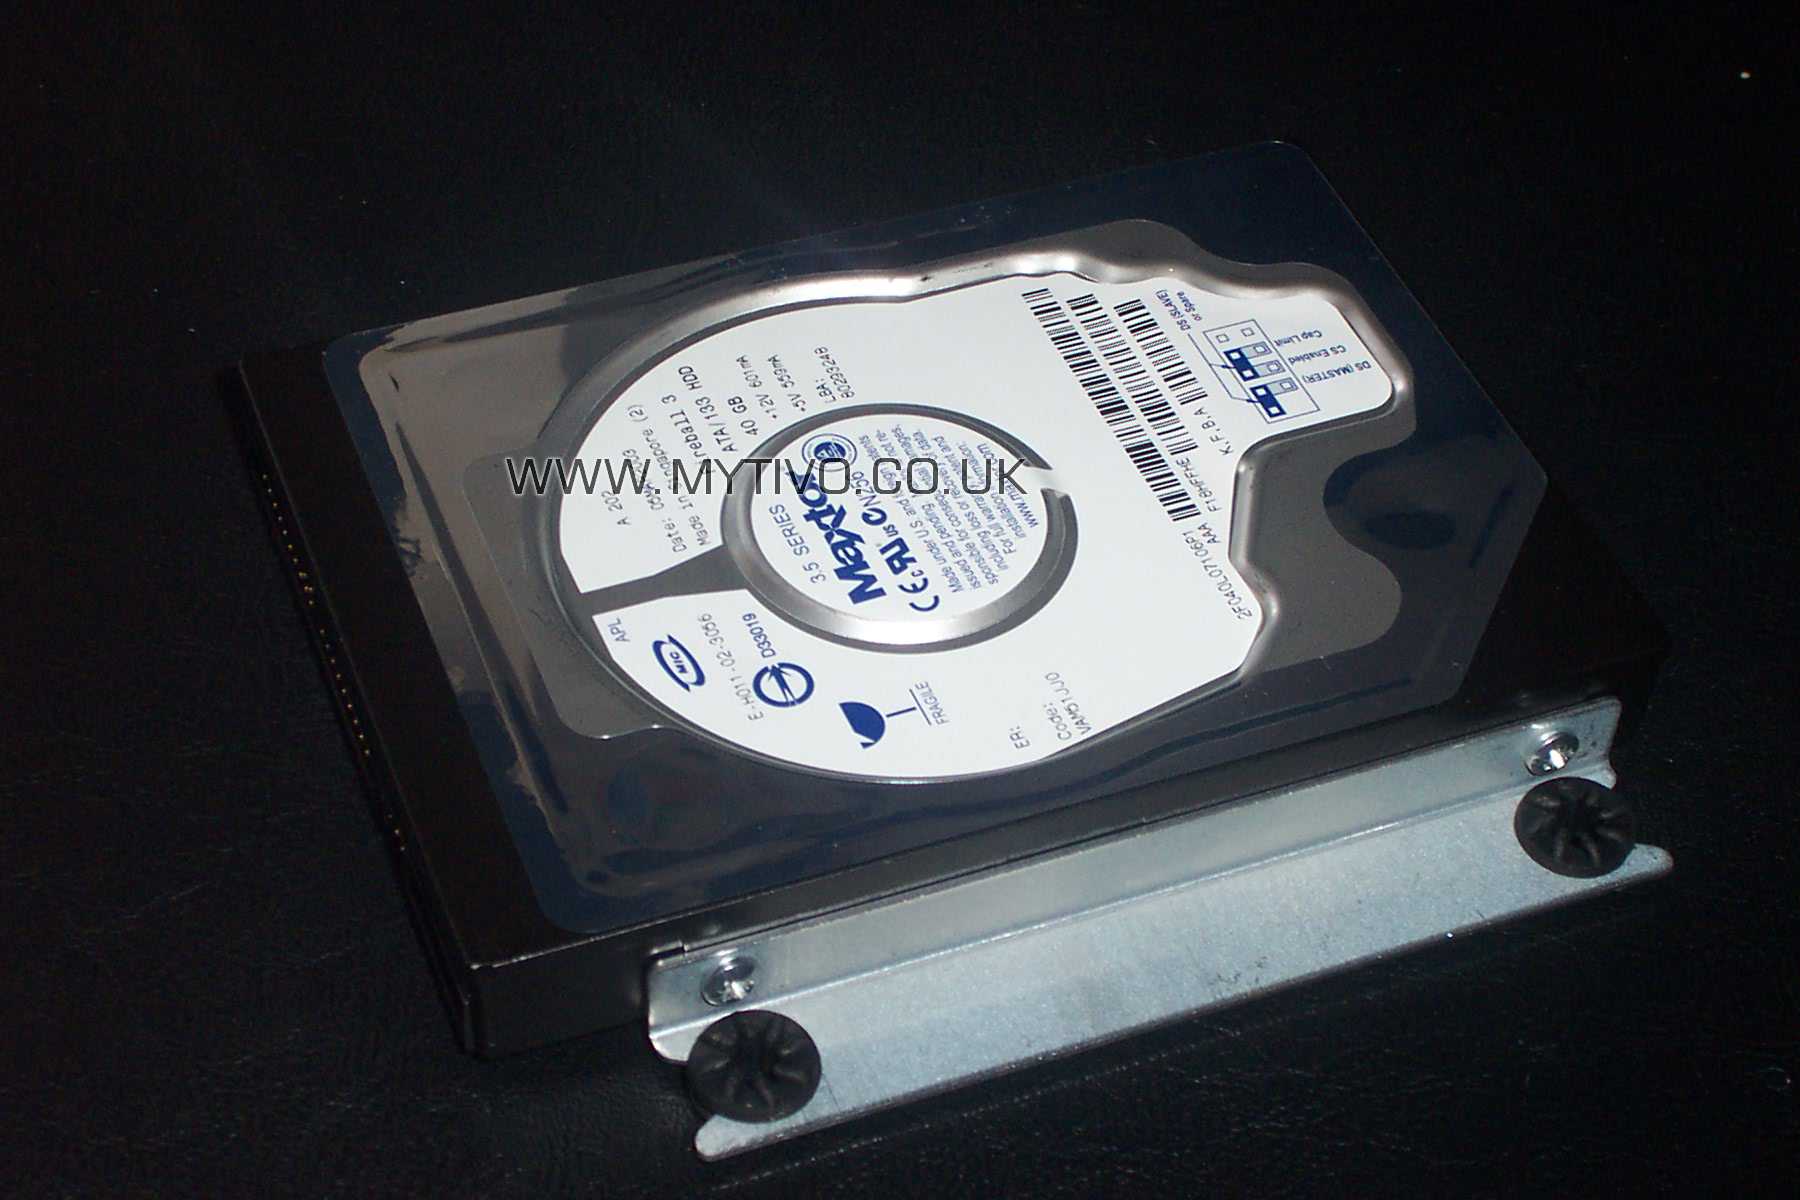
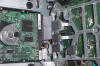
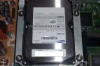
5. Hard Drive Close UP
We can see it mounts on four rubber shock mounts.
Removing the four screws allows the drive and rails to be taken out of
the box. It is a Maxtor! fireball 3, ATA/133 40GB IDE HDD. 3/4 Height.
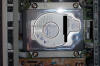
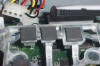
6. Under the Drive
This is quite interesting, I wasn't expecting what I
saw, the main chips on the circuit board of the drive are cooled by heat
transfer pads to a solid aluminium frame.
7. Drive close up
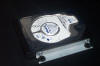
Held into the box with a rail either side using
standard Philips Screws.
8. Close up of the Transfer Pads and connections
Uses standard HDD Power connector, but an 80wire
enhanced IDE cable.
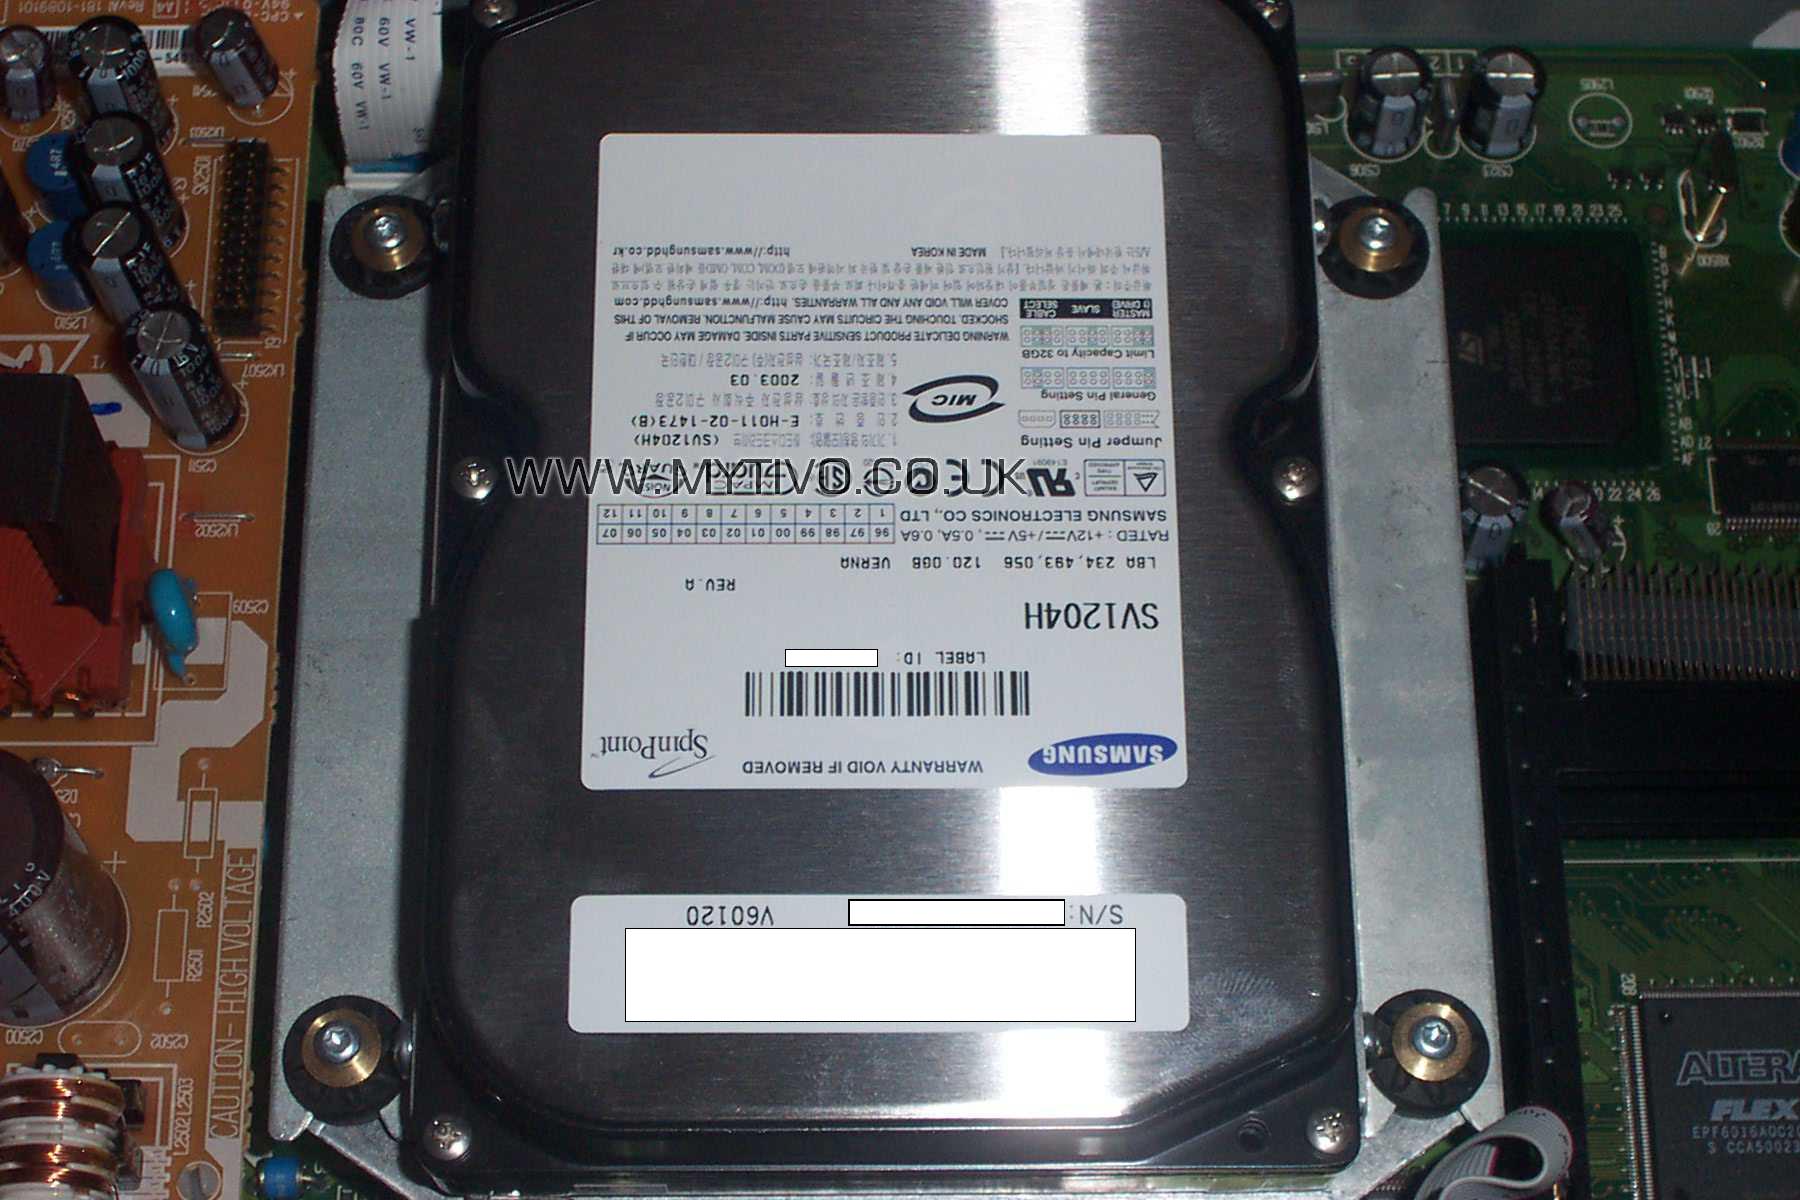
8. Upgrade in Place
The trusted 120GB Samsung..
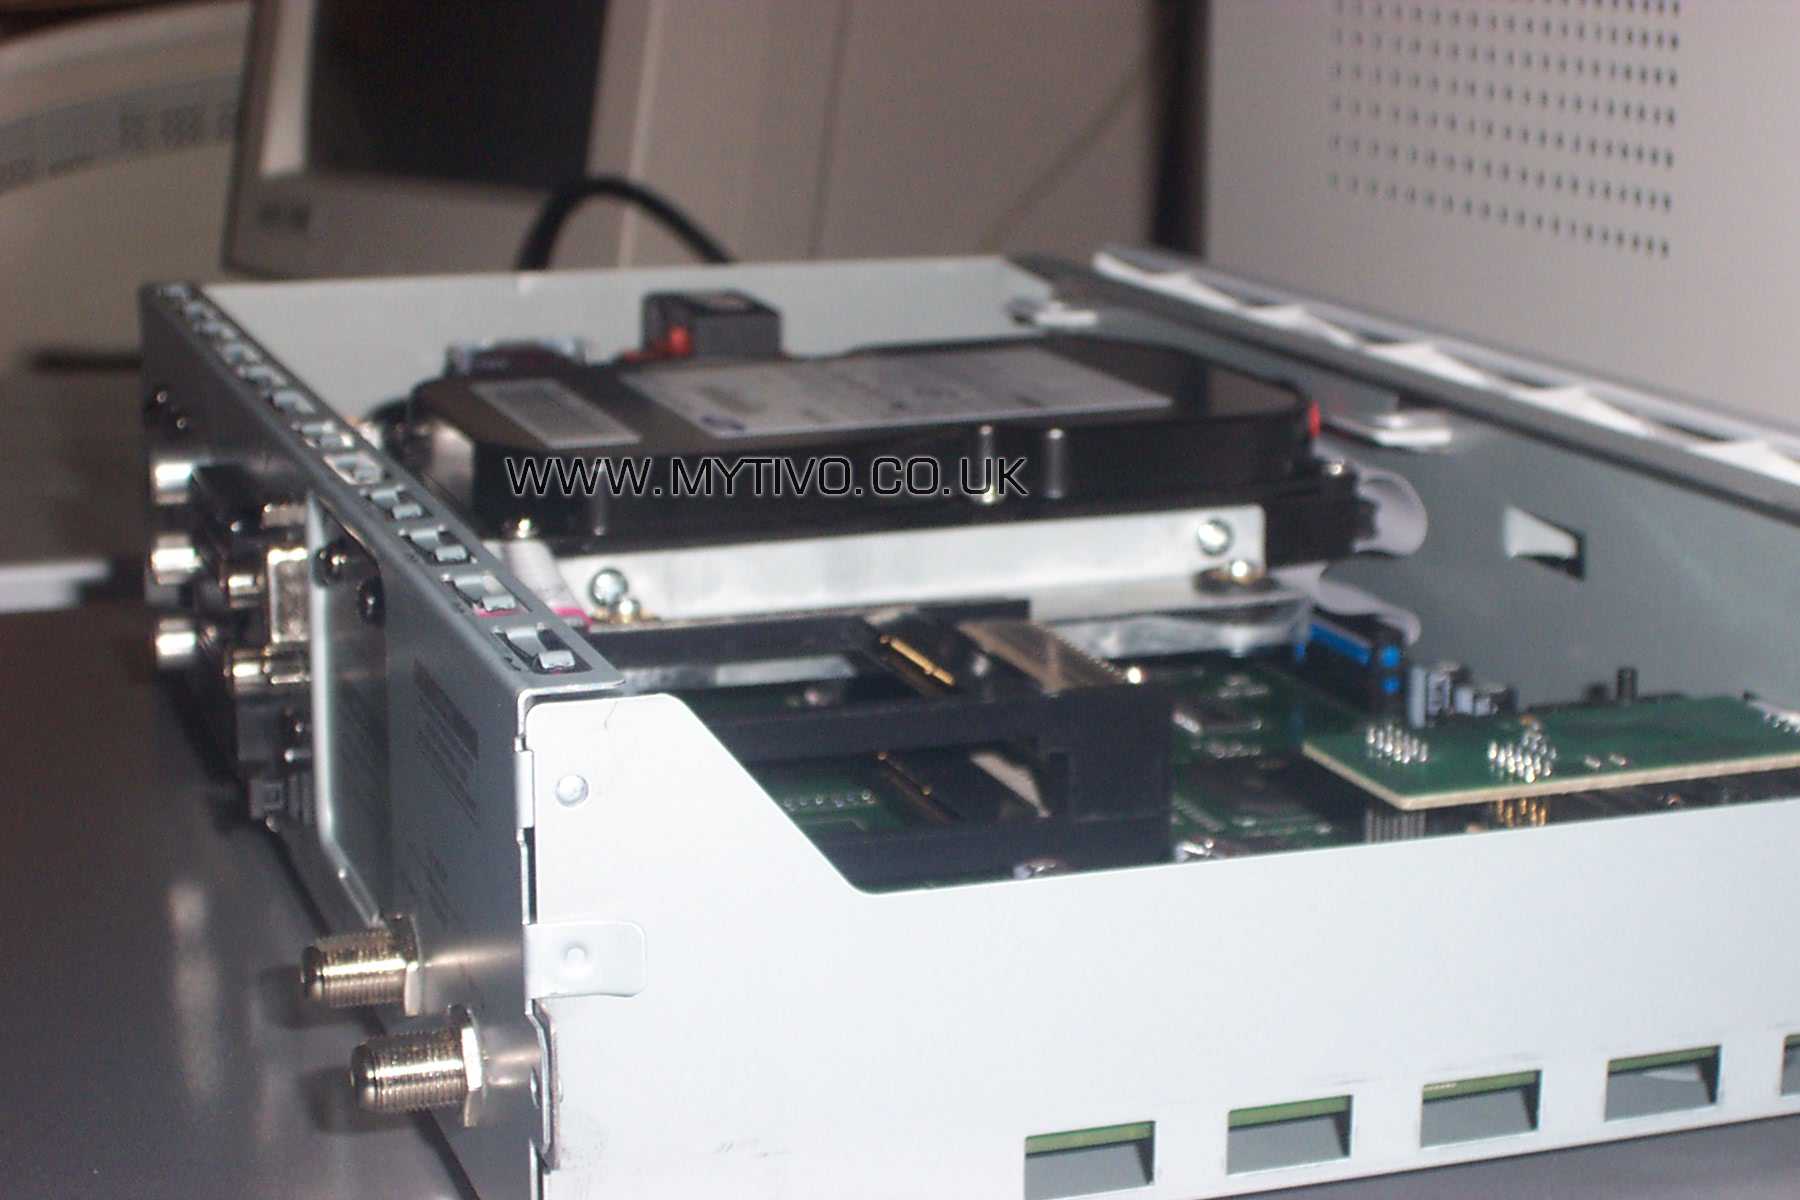
9. HDD Height
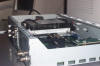
Even with a full height drive in place, there is still
room for air to travel over the drive. If overheating becomes a problem,
it would be easy to attach heat transfer pads to the top of the drive,
which will in turn use the lid as a heat sink when in place.
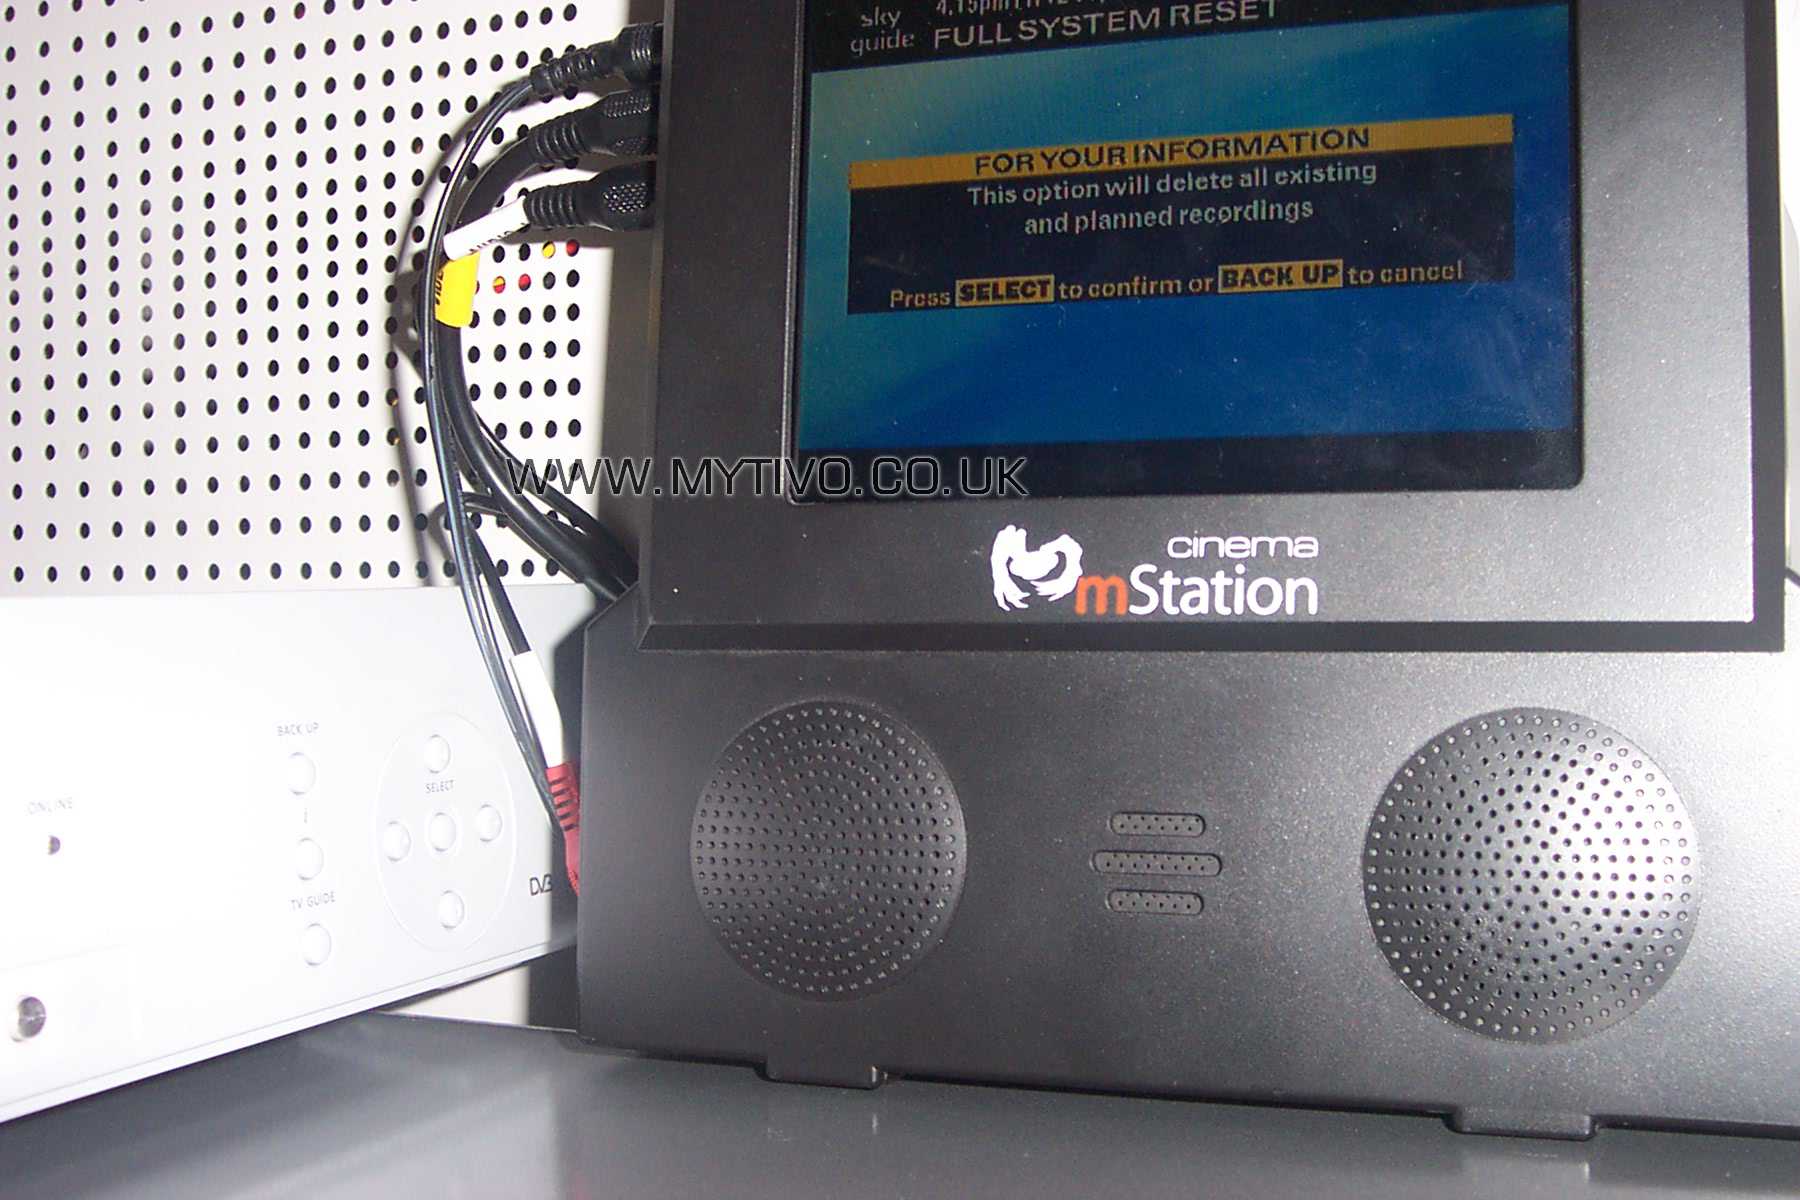
10. System Reset

A quick system reset, and housekeeping and a couple of
minutes later you have a decent capacity Sky+.
I just wish they would fix the Percentage Used Bar!!!
Have quickly knocked this take apart together tonight,
if you have any comments, errors or feedback please leave it using the form
below. Thanks
Enter your comments in
the space provided below:
-
Tell me how to get in touch with you (Optional):