The Upgrade

Before you proceed, please ensure you are read and
understood the "Read me first" disclaimer.
We do not take responsibility for any damage caused to yourself, TiVo or
Hard Drive as a result of opening your TiVo. Remember high voltages are
present inside your TiVo and you can be hurt if you open the case. You
must also understand that it may VOID your TiVo WARRANTY. Also note that
the capacity upgrade is fully compatible with the current UK 2.5.5 SW
and older versions, and although unlikely that any future upgrades of
the TiVo software will conflict with the capacity due to the operation
of the drive partitions but this can not be ruled out.
Remove all cables from your TiVo and leave for at
least 10 Minutes, this allows the internal mains power supply to
discharge. It is important to note that this internal power supply may
still hold some charge and could be potentially dangerous.
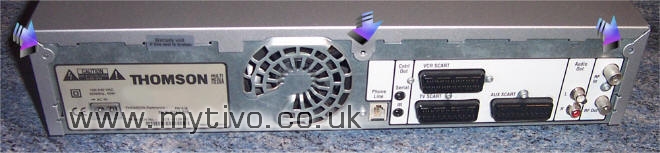
Removing the Lid is the most difficult part of
the upgrade, remove the three T10 Screws from the rear of the unit as shown.
Then Pull the lid back, wiggling it side to side until it comes back
about 2 centimetres, then lift the lid up and off.
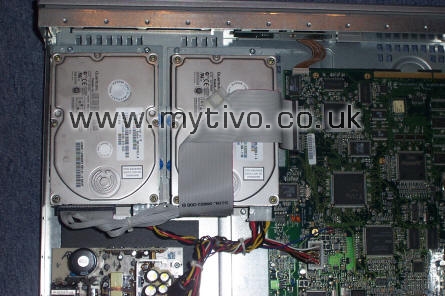
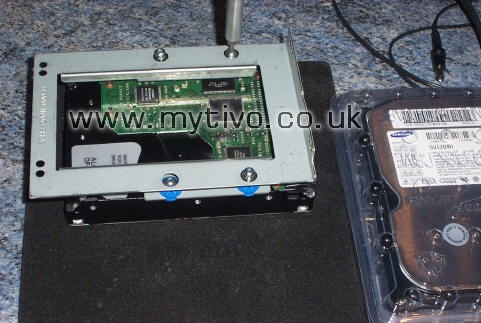
You will then see the guts of your TiVo as below, on the
left is a single drive unit and on the right a Twin Drive unit
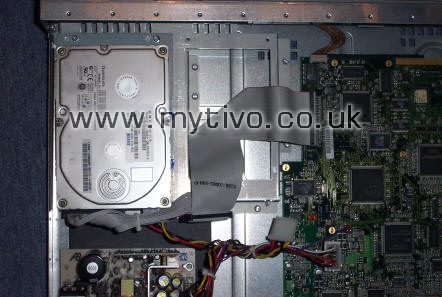
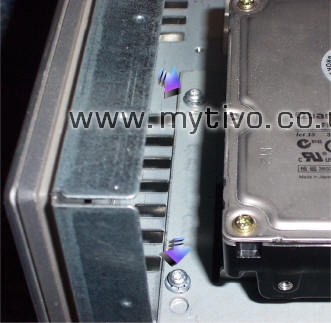
To remove the drive and bracket, you have to release the
two T10 screws per bracket as shown below. You can then remove the drive
from the bracket by removing the four T15 Screws. Try not to touch the
circuit boards to prevent static damage.
Remember this is an replacement drive that replaces
either the single or both drives in a duel drive unit. So if you have
two drives, remove them both.
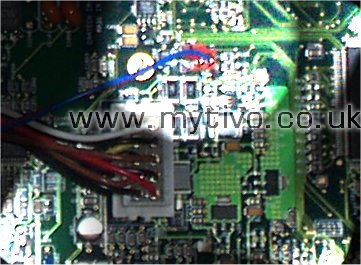
Then secure the new drive and refit inside the TiVo
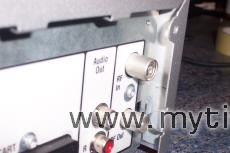
reversing the above process. Before refitting the lid, check the fan is
clear of all dust and fluff and check that the fans power connector has
not been knocked out of position as shown below.

After refitting the bracket and lid, powering up your
TiVo will kick off the 2.5.5 Guided Setup.